
Creating a charming garden space doesn’t have to break the bank. If you’re looking to add some personality to your outdoor area without spending a dime, you’ve landed in the right place. This post was inspired by my own quest for budget-friendly gardening solutions. I wanted to find ways to develop unique garden features using items that most people have lying around—like old tin cans. By upcycling these simple containers, you can create delightful planters that make any garden pop with color and creativity.
If you’re a gardening enthusiast or someone who’s just starting to explore this rewarding hobby, you’ll appreciate these ideas. You don’t need to be a DIY expert; these projects are easy and fun. You can transform tin cans into creative planting solutions that suit your style, nourish your plants, and even help the environment. In this post, I’ll share nine charming tin can planters that are zero cost but packed with personality. Get ready to unleash your creativity and turn those recycled garden containers into something truly special!
As you dive into this guide, you’ll discover various upcycled gardening ideas that will inspire you to think outside the box. From colorful herb gardens to a vertical garden wall, each idea is designed to be budget-friendly and accessible. Let’s get started on this delightful journey of upcycled gardening!
Key Takeaways
– Transform used tin cans into beautiful planters that enhance your garden’s charm without any cost.
– Explore nine unique tin can planter ideas, including a colorful herb garden and vertical garden wall.
– Discover how to personalize your planters with paint and decorative touches for added flair.
– Learn about the benefits of using recycled garden containers, from sustainability to creativity.
– Get ready to grow your plants in style while making the most of what you already have at home.
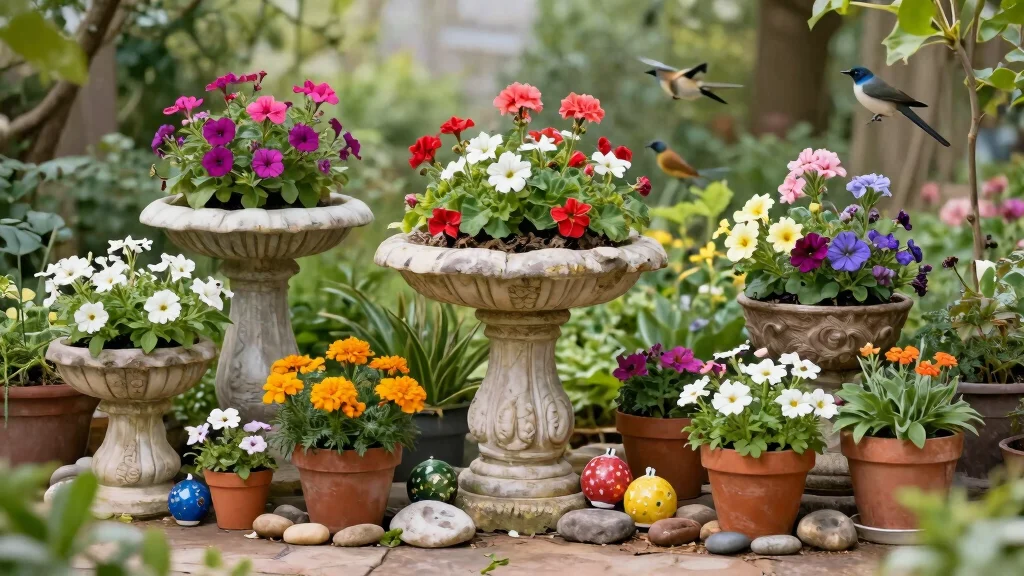
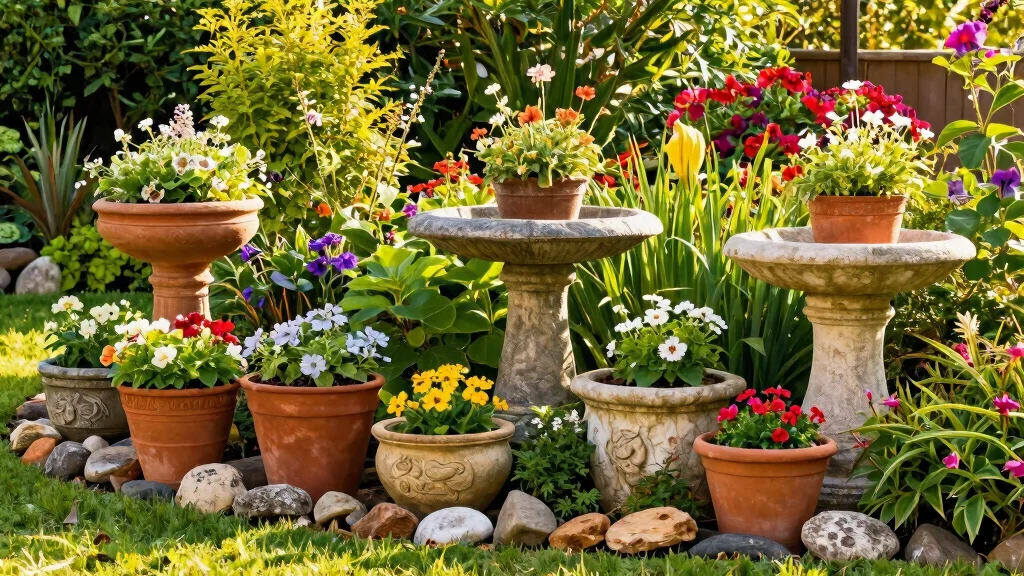
1. Colorful Herb Garden

Are you ready to spice up your kitchen with fresh herbs? Imagine vibrant basil, aromatic rosemary, and zesty thyme growing in charming upcycled tin can planters. With a splash of color, these cans can brighten your space while providing easy access to flavor-packed herbs right at your fingertips. It’s a delightful way to combine functionality with a touch of creativity in your cooking routine.
Start by selecting a sunny spot for your herb garden. You can paint the cans in cheerful colors or leave them with a rustic look. Just make sure to arrange them in a way that maximizes sunlight exposure for optimal growth.
Key steps for success:
– Drill drainage holes in each can.
– Use quality potting soil for the best results.
– Water regularly and ensure they get plenty of sunlight!
This colorful herb garden not only enhances your kitchen but also ensures you have fresh ingredients ready whenever you need them.
Colorful Herb Garden
Editor’s Choice

Planters’ Choice 9 Herb Indoor Window Garden Kit – Birthday Gifts – Hous…

Grenebo Gardening Tools 9-Piece Heavy Duty Garden Hand Tools with Fashio…

COOLJOB 6 Pairs Gardening Gloves for Women Ladies, Breathable Rubber Coa…
2. Vertical Garden Wall

Want to turn a dull wall into a vibrant vertical garden? Using tin cans, you can create a stunning garden wall that not only saves space but also adds a unique focal point to your outdoor area. Imagine cascading flowers and lush vines covering an ordinary wall, transforming it into a lively green oasis that draws the eye.
Start by arranging your cans on a wooden pallet or directly on the wall. Fill them with colorful blooms or trailing plants that thrive in vertical spaces. This setup is perfect for smaller areas where traditional gardening isn’t an option.
Get started with these tips:
– Choose lightweight plants like succulents or ferns.
– Use a trellis to support climbing plants for extra height.
– Customize each can with paint to match your garden’s theme.
Your vertical garden is not only beautiful but also a sustainable way to utilize recycled materials while enhancing your outdoor space.
Vertical Garden Wall
Editor’s Choice

Home Grown Premium Wildflower Seeds Bulk – 60,600+ Perennial Flower Seed…

Miracle-Gro Moisture Control Potting Mix – Plant Soil For Container Plan…

Ogrmar 36 Pockets Vertical Wall Garden Planter Plant Grow Bag for Flower…
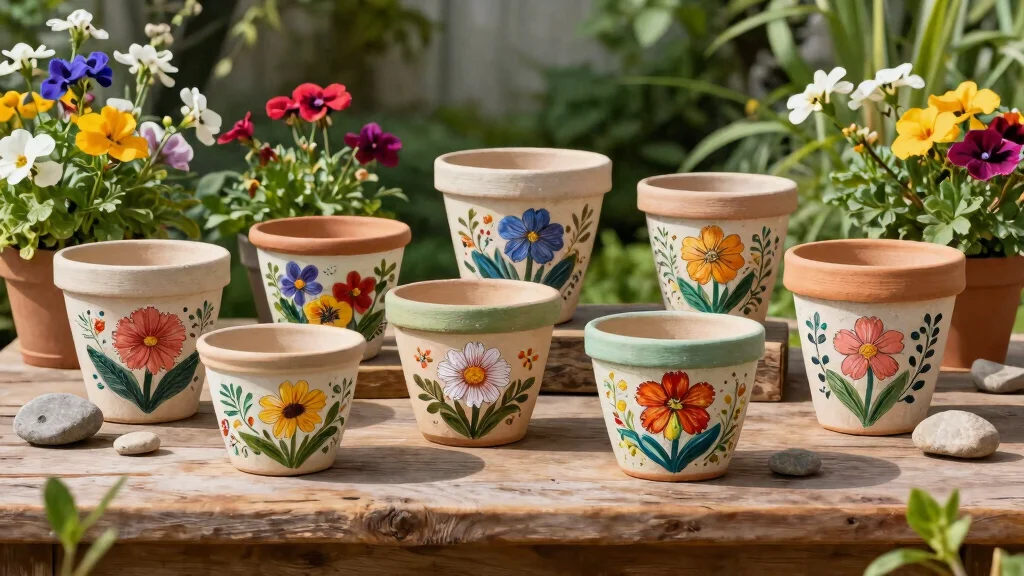
3. Painted Flower Pots

Ready to unleash your creativity? Transform plain tin cans into whimsical flower pots that showcase your artistic flair! This fun DIY project allows you to paint and decorate cans, giving vibrant homes to your favorite flowers. Choose bold colors or playful patterns that resonate with your personal style, and watch your garden come to life.
Once your cans are painted, consider various placements. Hang them, place them on tables, or scatter them throughout your garden for delightful pops of color. Don’t be shy to mix and match sizes and designs for a playful effect.
Tips for painting:
– Use acrylic paint for strong adhesion.
– Seal with a clear coat to protect your art from the elements.
– Combine different sizes for a charming display.
Your garden will reflect your personality, turning it into a canvas of color and creativity.
📹 Related Video: Awesome DIY Tin Cans Ideas for Garden//GREEN PLANTS
Painted Flower Pots
Editor’s Choice

Shuttle Art Acrylic Paint Set, 15 x 12ml Tubes Artist Quality Non Toxic …

Thompson’s WaterSeal Multi-Surface Waterproofer Stain, Clear, 12 oz Ae…

Pro Grade Paint Brushes, 5-Piece Paint Brush Set, Flat & Angle Brushes f…
4. Succulent Display

Looking for a low-maintenance gardening option? Create a stunning succulent display in tin cans! These resilient plants thrive in diverse conditions, making them perfect for your upcycled gardening projects. With their unique shapes and colors, succulents can create a beautiful arrangement that brightens any space, whether grouped in a larger can or individually planted.
Arrange your cans on a sunny patio or balcony to craft a peaceful oasis at home. Succulents require minimal care, making them an ideal choice for busy lifestyles.
Care tips for succulents:
– Add gravel to the bottom of the can for proper drainage.
– Water sparingly, letting the soil dry out between sessions.
– Ensure full sunlight exposure for healthy growth.
A succulent display brings charm and a touch of nature to your home without the fuss.
Succulent Display
Editor’s Choice

24 Set Garden Plastic Paintable Flower Pot Craft Kit 4″ Starter Pots DIY…

Back to the Roots 100% Organic Succulent & Cacti Mix (6 Quart) | Made in…

Altman Plants Deluxe Live Succulents (6 Pack), No Duplicates, Assorted V…
5. DIY Candle Holders

Want to add a cozy ambiance to your evenings? Craft delightful DIY candle holders from tin cans! These charming pieces can serve double duty as both candle holders and planters, creating a beautiful blend of light and greenery. Simply punch holes in the cans for a lantern effect, insert candles, and enjoy the warm glow during gatherings.
Consider filling the cans with soil and plants for a stunning visual combination that offers both light and life. You can also decorate them further for a personalized touch.
Creative ideas for your candle holders:
– Experiment with different shapes using various can sizes.
– Wrap twine or lace around the can for a rustic look.
– Group several together for an enchanting centerpiece.
These DIY candle holders will illuminate your space while sparking delightful conversations.
You might also like
DIY Candle Holders
Editor’s Choice

BRELANO Crystal Candle Making Kit – No-Melt Candle Sand, 18 oz Pearled…
6. Garden Markers

Struggling to keep your garden organized? Upcycled tin cans can become charming garden markers! Cut the cans into strips, shape them into tags, and label your herbs and vegetables, adding a whimsical touch to your gardening setup. Not only do these markers keep your plants organized, but they also enhance the beauty of your garden.
For a personalized touch, paint or engrave the names of your plants onto the markers. This creative solution helps you keep track of your garden’s diversity while showcasing your upcycled crafts.
Making your garden markers:
– Use sturdy scissors or tin snips for cutting.
– Secure them with wooden stakes or place directly into the soil.
– Experiment with different shapes and sizes for a unique display.
These garden markers add fun and function, keeping your gardening experience organized and visually appealing.
Fun fact: upcycled tin can planters double as charming garden markers, costing almost nothing. Cut cans into tags, label herbs and vegetables, then paint or engrave names for a whimsical, practical touch that keeps your garden organized and easy to read.
Garden Markers
Editor’s Choice

2 Pack Garden Marker Pen Permanent Markers Black (UV Fade Resistant Mark…

Metal Paint – Waterpoof Anti Rust Preventative – Paint for Metal – Door/…

Resparked Customizer Engraving Pen Ultimate Cordless Portable Tool for A…
7. Miniature Fairy Garden

Want to spark some magic in your garden? Create a whimsical miniature fairy garden using tin can planters as the perfect base! Fill these delightful gardens with tiny plants, stones, and fairy figurines, turning your outdoor space into an enchanting retreat. Arrange the cans on a shelf or in a quiet corner to inspire wonder and creativity.
This project is a fantastic way for both kids and adults to connect with nature and nurture their imaginations. You’ll have a charming little world to admire and care for.
Building your fairy garden:
– Use small-leaf plants or moss to fit the miniature theme.
– Add decorative elements like tiny houses and stones.
– Incorporate gravel for drainage and a tidy look.
Your fairy garden will welcome visitors with its enchanting design and spark joy in your space.
❝ Fun fact: 75% of DIYers report that tin can planters in a fairy garden spark kids’ curiosity about nature within minutes. Turn scraps into whimsy and create a miniature world that’s easy to love—and easy to share. ❞
Miniature Fairy Garden
Editor’s Choice

Mood Lab Garden Gnome Figurines – Lady Gnomes Set (3 pcs) – 3.5″ H Minia…

Spoontiques – Garden Décor – Scatter Kindness Stepping Stone – Decorati…

VIVERIE Mini Succulents Plants Artificial in Pots-Rose Pink, Christmas S…
8. Bird Feeders

Looking to attract birds to your garden? Craft charming bird feeders from tin cans! By cutting openings into the sides and filling them with birdseed, you create a unique feeding station for your feathered friends. Decorate the cans to add a splash of color and hang them from trees or hooks for an inviting space.
These feeders not only provide nourishment for birds but also add a playful element to your garden. Watching birds come and go can be a delightful experience for everyone.
Bird feeder tips:
– Create ample space for birds to access the seed.
– Regularly refill the feeders to keep birds returning.
– Hang them near bushes or trees for shelter from predators.
These DIY bird feeders enhance your garden’s charm while supporting local wildlife.
You Might Also Like
How To Choose the Right Tin Can Planters
1. Size Matters
When selecting your tin can planters, think about the size of the plants you want to grow. Larger plants, like tomatoes, need more space than smaller herbs. A standard tin can, like a coffee can, holds about 1-2 quarts, which is suitable for small herbs. For bigger plants, look for larger containers or multiple cans to create a grouping.
2. Drainage is Key
Good drainage helps prevent root rot and keeps your plants healthy. Make sure the cans have holes in the bottom to allow excess water to escape. If you’re using a can without holes, consider adding rocks or gravel at the bottom to improve drainage. This small step can save your plants from drowning!
3. Material & Condition
While most tin cans are made of metal, check for rust or sharp edges that could harm plants. Choose cans that are sturdy and free from corrosion. If there are sharp edges, use sandpaper or a file to smooth them out. Your plants will grow better in a safe and clean environment.
4. Creative Design
Think about how you want your tin can planters to look. You can leave them as is for a rustic look or paint them for some flair. Use non-toxic paints or natural materials for safe gardening. Personalizing your cans not only enhances their charm but also makes your garden uniquely yours!
5. Placement Considerations
Where you place your tin can planters matters too. If your plants need full sun, choose a spot that gets at least 6 hours of sunlight daily. For shade-loving plants, find a cooler, shaded area. Be mindful of wind and rain, as high winds can topple smaller cans. Secure your planters in a spot that balances sunlight and protection.
6. Budget and Reuse
Since the focus is on zero-cost gardening, consider how to repurpose cans you already have at home. Think about soup cans, soda cans, or any metal container that can serve as a planter. This not only saves you money but also contributes to recycling efforts. Challenge yourself to find creative uses for what you already have!
Pro Tip: To add flair, consider decorating your cans with twine, fabric, or stickers. This creative touch will make your tin can planters standout in any garden setting! Personalizing your planters can be a fun family activity, too!
Bird Feeders
Editor’s Choice

Wagner’s 53002 Farmer’s Delight Wild Bird Food with Cherry Flavor, 10-Po…

ESFUN 6 Pack 12 inch Extra Large S Hooks Black Heavy Duty Long S Hooks f…

Apple Barrel Essentials Acrylic Paint Set, 12, 24 Fl Oz (Pack of 1)
9. Edible Flower Display

Ready to add beauty and flavor to your garden? Create an edible flower display in tin can planters! Flowers like nasturtiums, pansies, and violas not only brighten your space but are also edible, perfect for adding flair to salads and dishes. Plant these blooms in colorful cans that complement their vibrant hues for an eye-catching arrangement.
Position your edible flowers on tables or in garden beds for a delightful connection to your meals. They enhance both the visual appeal and flavor of your culinary creations.
Growing edible flowers:
– Use organic seeds and soil, avoiding pesticides.
– Water regularly and ensure adequate sunlight.
– Harvest in the morning for the best freshness and flavor.
An edible flower display adds a beautiful and practical touch to your garden, creating a charming space filled with delightful flavors.
Did you know edible nasturtiums, pansies, and violas can bloom in as little as 60 days in tin can planters? Plant two or three varieties to create a colorful edible flower display that doubles as a garnish for salads and dishes.
Edible Flower Display
Editor’s Choice
Miracle-Gro Moisture Control Potting Mix – Plant Soil For Container Plan…
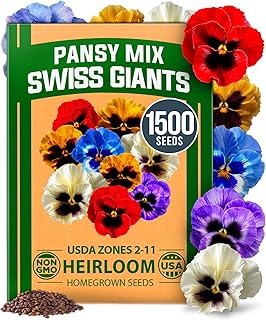
HOME GROWN Pansy Swiss Giants Mix – 1,500 Flower Seeds (2.13g) – Fall Pl…
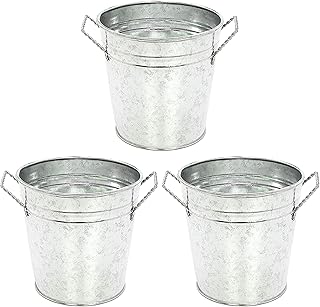
Hosley 3 Pack of Galvanized Planters 5″ Dia x 4.5″ H Durable Metal Plant…
Conclusion

Embracing the charm of tin can planters is a delightful way to elevate your gardening game while being eco-conscious.
From creating colorful herb gardens to enchanting fairy landscapes, these upcycled tin cans can transform any space into something special.
So gather those cans and let your creativity flow, knowing you’re contributing to a more sustainable world while enjoying the beauty of nature’s bounty!
Note: We aim to provide accurate product links, but some may occasionally expire or become unavailable. If this happens, please search directly on Amazon for the product or a suitable alternative.
This post contains Amazon affiliate links, meaning we may earn a small commission if you purchase through our links, at no extra cost to you.
Frequently Asked Questions
What are tin can planters and how can I create a vertical garden with them?
Tin can planters are budget-friendly containers made from recycled tin cans that turn everyday scraps into a charming garden feature. To start a vertical setup:
Gather clean cans and remove sharp edges to prevent cuts.
Drill small drainage holes in the bottom and add a tiny layer of gravel for drainage.
Decorate the cans with leftover paint, twine, or fabric to fit your style.
Line the inside with a thin plastic bag or landscape fabric to protect the metal and soil.
Fill with quality potting mix and plant compact herbs or small flowers.
For a vertical display, mount cans on a reclaimed ladder, a hanging shoe organizer, PVC pipe sections, or a wall-mounted frame to create a creative planting solution and upcycled gardening ideas.
Are tin can planters really zero cost and how can I keep them budget-friendly?
Absolutely—zero cost is realistic when you use cans you already have and free or repurposed materials. Try these steps:
1) Gather cans from your pantry, rinse them well, and remove sharp edges for safety.
2) Use leftover paint, twine, or fabric scraps to decorate—no need to buy new planters.
3) Line the inside with a thin plastic bag or landscape fabric to protect the metal and help retain soil.
4) Drill drainage holes and fill with a budget-friendly potting mix. Plant from seed or cuttings to keep it truly budget-friendly.
5) Attach the cans to a vertical frame (ladder, hanging organizer, or repurposed gutter) to create a recycled garden containers solution that feels like DIY planters without a price tag.
What plants work best in tin can planters and how do I care for them?
Tin can planters are perfect for compact herbs, greens, and small flowers. Try picks like basil, thyme, parsley, lettuce or baby spinach, and small flowering annuals such as calendula or alyssum, or tiny succulents. For care: ensure drainage holes are open, use a light, well-draining potting mix, and water when the top inch of soil dries. Avoid letting cans sit in standing water and place them where they get the right light for each plant. Fertilize lightly every 4–6 weeks and, if needed, line the can with plastic to prevent rust. This fits into upcycled gardening ideas and DIY planters concepts.
How can I install a tin can planter vertical garden in a small space?
Choose a compact mounting option like a reclaimed ladder, a wall-mounted frame, a hanging shoe organizer, or a vertical gutter system. Steps:
1) Pick a spot with the right light and secure the frame to a wall or fence.
2) Arrange cans by weight, placing heavier ones lower for stability.
3) Attach each can with brackets, zip ties, or small screws; ensure drainage aligns with a tray or drip mat.
4) Add a shallow tray underneath to catch excess water.
5) Fill with potting mix and plant, then water gently. This setup delivers a creative planting solution and is a great example of upcycled gardening ideas for small spaces.
How do I decorate and maintain tin can planters to keep them charming year-round?
Decorate with weatherproof paints or sealants, wrap with twine, and add plant labels. Rotate plants seasonally to keep things fresh. Maintenance tips:
1) Clean cans with mild soap to remove dirt.
2) Check for rust and line with plastic if you see any wear.
3) Refresh soil each growing season and replace any plants that aren’t thriving.
4) Ensure proper drainage and prune regularly. This budget-friendly gardening approach works well with recycled garden containers and upcycled gardening ideas.
Related Topics
tin can planters
upcycled gardening
DIY planters
recycled garden containers
budget-friendly gardening
vertical gardens
creative planting solutions
zero cost gardening
beginner friendly
easy gardening projects
sustainable gardening
outdoor decor