
Creating a beautiful garden can often feel overwhelming, especially when it comes to finding the perfect planters. If you’ve ever looked at pricey pots and containers and thought, “There must be a better way,” you’re in the right place! I’ve been inspired to share affordable DIY projects that let you craft stunning hypertufa planters. These planters not only boast an ancient charm but also enhance your outdoor space without breaking the bank.
If you’re a gardening enthusiast or a DIY lover, this guide is for you. Whether you’re aiming to add rustic decor to your garden or you’re simply looking for cost-effective planter ideas, you’ll find something to ignite your creativity. With a little guidance, you can easily transform simple ingredients into unique garden containers that reflect your personal style.
In this post, I’ve gathered ten exceptional hypertufa planter ideas that are ancient-looking, visually captivating, and budget-friendly. You’ll discover everything from textured troughs to elegant bowls, along with practical tutorials to help you bring these ideas to life. You’ll walk away with inspiration and the tools to create your own beautiful hypertufa planters that elevate your gardening game.
Key Takeaways
– Cost-Effective Crafting: Hypertufa planters offer a budget-friendly way to create unique garden decor, allowing you to achieve an ancient look without high costs.
– DIY Simplicity: These projects are easy to follow, making them perfect for both seasoned gardeners and DIY newcomers who enjoy hands-on creativity.
– Diverse Design Options: From troughs with drainage channels to elegant bowls, you can choose from various styles to suit your garden’s aesthetic and personal taste.
– Natural Aesthetics: Incorporating natural materials like vines into your hypertufa planters not only enhances their beauty but also connects your decor with the surrounding environment.
– Customizable Projects: Each planter can be personalized, allowing you to express your unique style and vision while creating beautiful containers for your plants.
1. Textured Troughs for a Rustic Appeal
Textured troughs embody rustic charm, bringing a touch of the countryside to your garden. The elongated design can host a variety of plants, from lush succulents to colorful flowers, creating a vibrant display. The rough texture of hypertufa mimics the look of aged stone, adding a timeless quality to any outdoor setting.
To craft your own textured trough, mix the hypertufa ingredients and mold them into a long, rectangular shape. For an extra layer of character, consider embedding small stones or fossils into the mix, enhancing their antique allure.
Tips for Making Textured Troughs:
– Experiment with various molds for unique designs.
– Use a sponge or brush to add texture before it sets.
– Incorporate natural fibers for improved durability.
These troughs not only serve as beautiful focal points but also offer ample space for your plants, merging practicality with striking aesthetics.
Texture is everything when you’re chasing a rustic garden glow. These hypertufa planters let you mold a textured long trough, embed small stones, and fill with succulents or flowers—watch the aged look develop as it cures.
📹 Related Video: Hypertufa: Sharing What I’ve Learned and How To Texture
Textured Troughs for a Rustic Appeal
Editor’s Choice

Platinum Cure Silicone Mold Making Kit 15A, 1:1 Mixing Ratio Liquid Rubb…
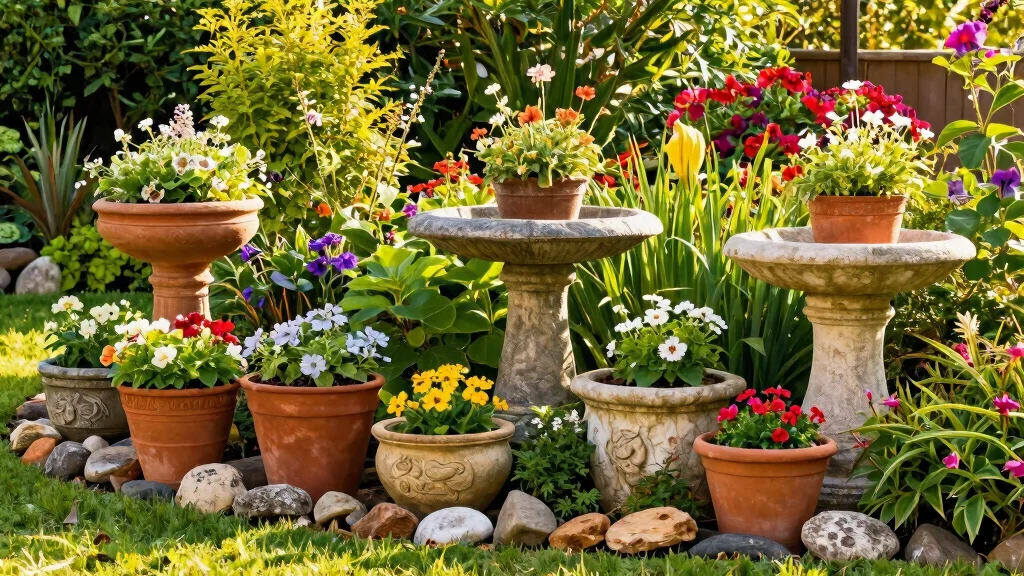
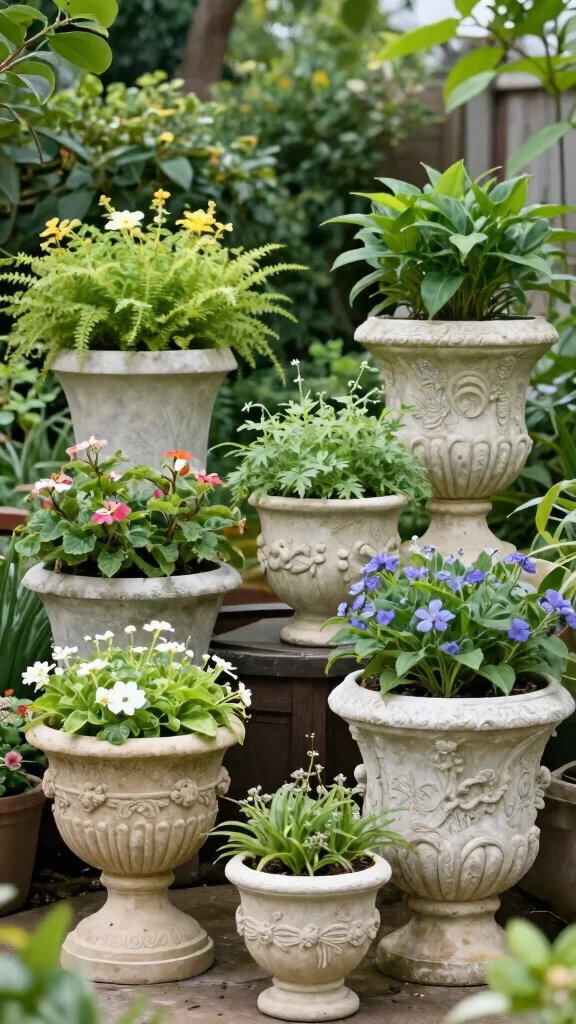
2. Elegant Bowls for a Sophisticated Touch

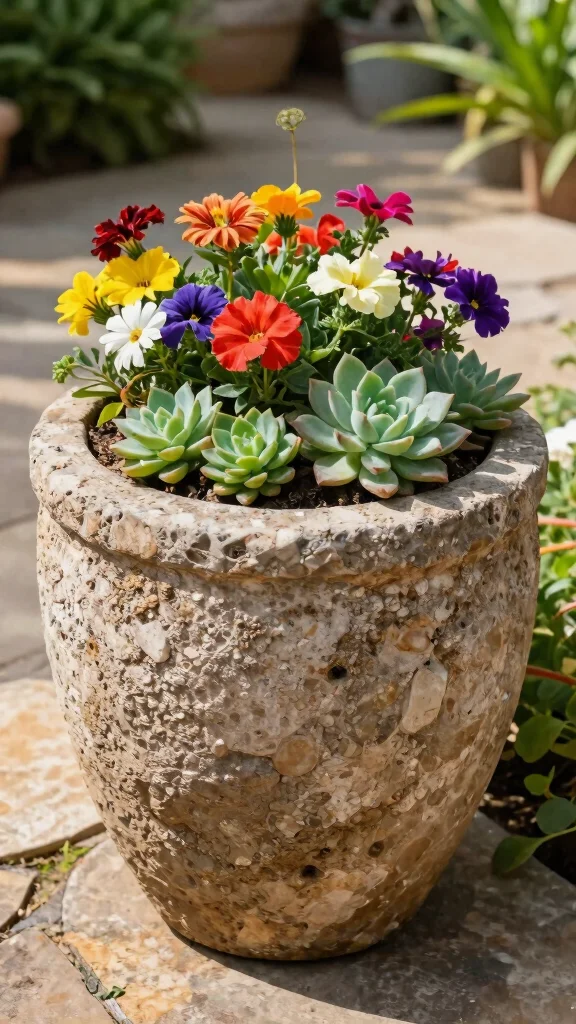
For those seeking a refined look, elegant bowls are a perfect choice. These round hypertufa planters beautifully complement smaller plants and can double as stylish centerpieces filled with moss or stones. Their smooth finish resembles classic stoneware, making them a versatile addition to any garden.
To create an elegant bowl, use a sleek mold and a finely mixed hypertufa. This approach allows for a polished finish, making it easy to rearrange bowls to highlight different areas of your garden.
Enhancement Ideas:
– Paint the exterior with natural pigments for a personalized touch.
– Add drainage holes to promote plant health.
– Position them on pedestals to elevate their presence.
These bowls stand out in tranquil garden settings, creating a serene focal point that exudes timeless elegance.
Did you know a single hypertufa bowl costs under $5 to make and still looks like carved stoneware? With a sleek mold and a finely mixed hypertufa, you can craft an elegant centerpiece—perfect for showcasing moss or stones in any garden, or as one of several hypertufa planters.
Elegant Bowls for a Sophisticated Touch
Editor’s Choice

Milisten Planter Mold Large Cement Garden Planter Mold Concrete Flower P…

Edward Tools Paint and Mud Mixer for Drill – Mixes 1 to 3 Gallons – 15 3…
TIHOOD 40PCS Artificial Moss Rocks (4 Sizes), Green Moss Decor for Flora…
3. Unique Shapes for Visual Interest
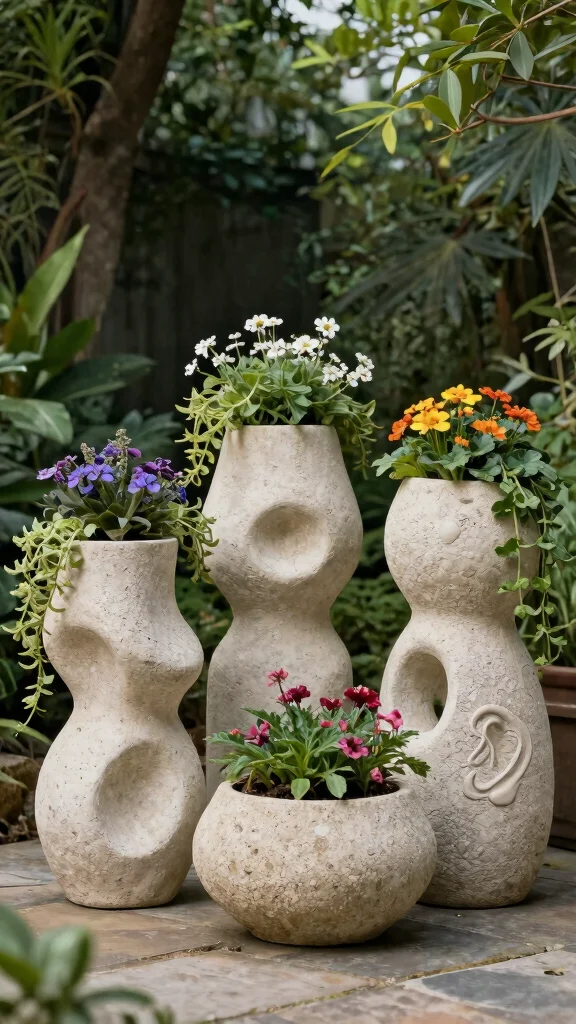
Why limit yourself to standard shapes when you can embrace creativity with unique hypertufa planters? From abstract forms to whimsical designs, these planters can become captivating features in your garden. Their distinct styles can evoke various sensations, adding excitement to your outdoor space.
To craft unique shapes, feel free to use unconventional molds or sculpt freehand. A twisted, vine-like planter can introduce a playful touch, while organic forms resonate with nature’s beauty. The rough texture enhances their ancient feel, seamlessly integrating with your garden’s aesthetic.
Creative Suggestions:
– Draw inspiration from nature; replicate shapes of rocks or flowing water.
– Use different sizes for a layered visual effect.
– Choose plants that spill over the edges for added drama.
These planters allow for artistic expression while maintaining practicality, making your garden a true reflection of your personality.
Unique Shapes for Visual Interest
Editor’s Choice

Fiberglass for Cement Mortar Concrete Reinforcement Anti-Seepage and Ant…

Amrules Clay Tools Kit, 27 PCS Pottery Tools, Practical Polymer Clay Scu…

Big Round Bowl Resin Mold 8.2in Large Silicone Container Epoxy Resin Con…
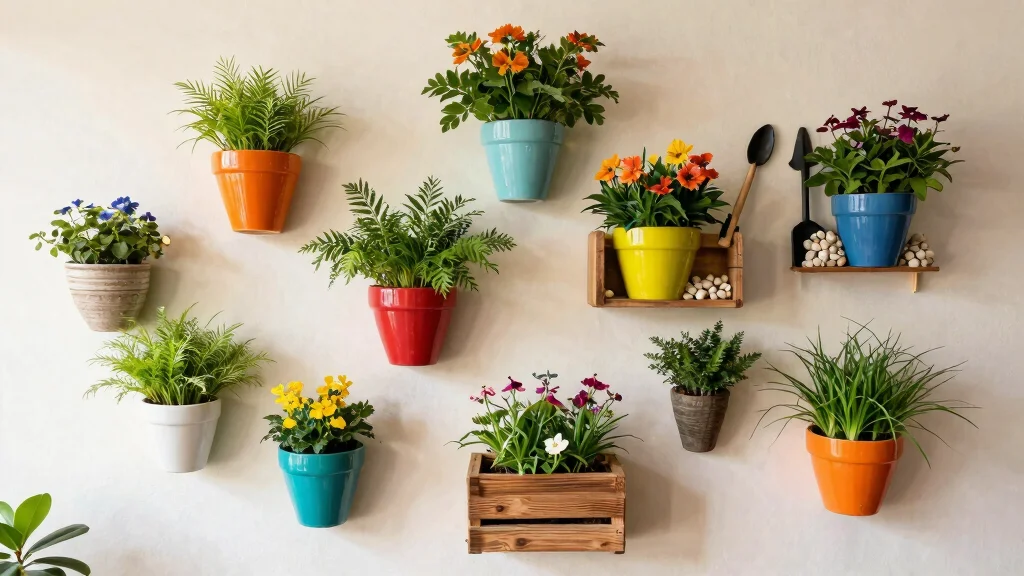
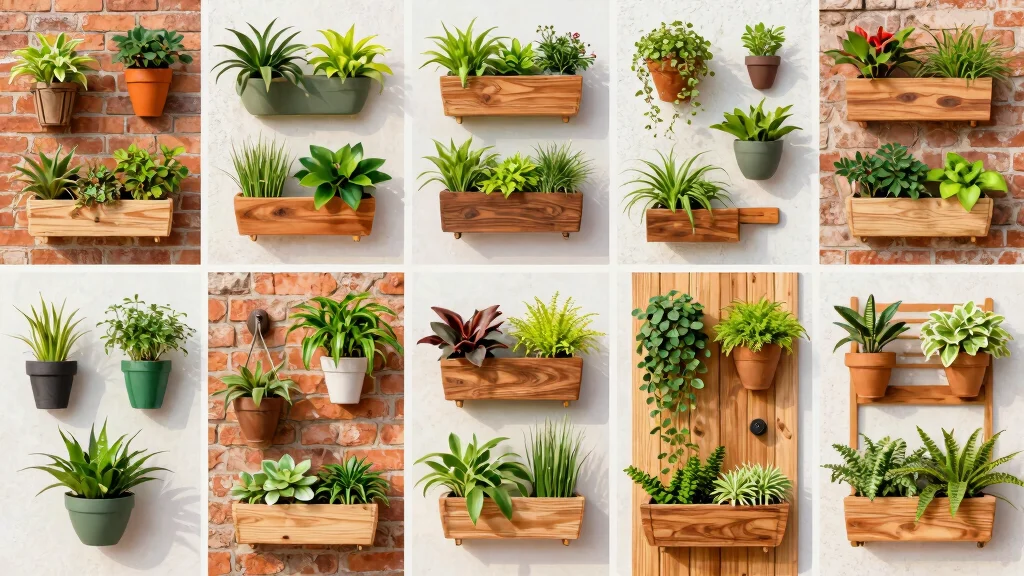
4. Wall Planters for Vertical Gardens

Wall planters are an innovative way to utilize vertical space, infusing your garden with an ancient vibe. These hypertufa creations can be mounted on walls or fences, transforming them into beautiful green backdrops. They invite the eye upward, showcasing your favorite climbing plants.
To make a wall planter, create a flat slab of hypertufa and embed small pots or carve out cavities for plants. This design not only maximizes space but also creates a stunning display of cascading flowers or climbing plants.
Installation Tips:
– Ensure walls can support the weight of the hypertufa.
– Use weather-resistant materials for secure mounting.
– Consider a drip tray to catch excess water.
With vertical gardens, you can turn an ordinary wall into a lush tapestry of greenery, enhancing your garden’s overall appeal.
Wall Planters for Vertical Gardens
Editor’s Choice

Hypertufa Concrete Garden: Easy Steps On Making Decorative Planters

Rocky Mountain Goods Wall Planter Basket 14” – Includes mounting Hooks…
Extra Large Round Planter Molds, ABS Concrete Planter Molds for Garden D…
5. Troughs with Drainage Channels

Adding drainage channels to your hypertufa troughs can greatly improve their functionality. This design mimics ancient irrigation systems, ensuring your plants stay healthy and vibrant. By allowing excess water to escape, you prevent root rot and promote thriving plant growth.
To create troughs with drainage channels, incorporate grooves into your mold. This small adjustment makes a significant difference in maintaining plant health, making it a practical solution for any gardener.
Benefits of Drainage Channels:
– Promotes healthy root growth by preventing waterlogging.
– Enhances the design’s antiquity with natural-looking channels.
– Simplifies maintenance by reducing excess water.
These troughs blend beauty with practicality, making them an excellent addition to your garden space.
Did you know that hypertufa troughs with drainage channels cut root rot risk by up to 40%? A simple groove lets excess water escape, keeping hypertufa planters happier and plants thriving.
You might also like
Troughs with Drainage Channels
Editor’s Choice
Extra Large Round Planter Molds, ABS Concrete Planter Molds for Garden D…

Pulovin 2.5 lbs Drainage Rocks for Potted Plants, 1/5 Inch Small Pebbles…
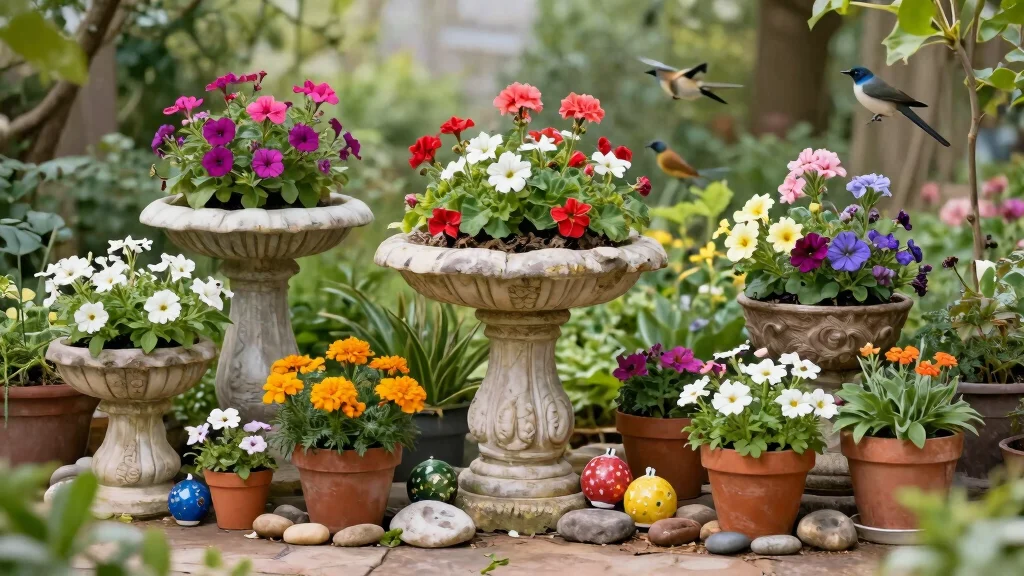
6. Hypertufa Bird Baths for Ancient Charm

A hypertufa bird bath serves as both a functional element and an enchanting addition to your garden. Its textured surface beautifully integrates into your landscape while providing a safe haven for birds to drink and bathe. The rustic charm of hypertufa invites nature into your outdoor space.
Creating a bird bath is straightforward; form a shallow basin with a sturdy base. A bit of texture will mimic natural stones found near water sources, enhancing the ancient appeal. Keeping the water fresh will encourage feathered visitors to return regularly.
Bird Bath Tips:
– Elevate the bath for easier access by birds.
– Add stones at the bottom for stability and aesthetics.
– Position nearby plants to offer shelter for birds.
These bird baths not only attract wildlife but also serve as a delightful focal point in your garden, bringing joy to both you and your visitors.
Hypertufa Bird Baths for Ancient Charm
Editor’s Choice

Cestony 2Pcs Lovely Bird Silicone Molds for DIY Cake Fondant Biscuit Coo…

Wonderjune Self Watering Pots for Indoor Plants with Deep Reservoir and …
7. Hypertufa Containers with Natural Vines

Incorporating natural vines into your hypertufa planters evokes the enchanting charm reminiscent of ancient ruins reclaimed by nature. These containers cradle climbing plants beautifully, creating a stunning visual display in your garden. The intertwining vines add an organic touch, enhancing the overall aesthetic.
To create this look, entwine natural vines into the hypertufa design while it is still wet. This technique not only adds texture but gives your containers a timeless feel, as if they’ve been part of the garden for ages.
Design Ideas:
– Use wire supports for heavier vines.
– Select trailing or climbing plants for a lush effect.
– Position near a trellis or wall to encourage growth.
These hypertufa containers with vines will captivate attention, transforming your garden into a living masterpiece.
Hypertufa Containers with Natural Vines
Editor’s Choice
Coconut Fiber Planter Liner, 3PCS 30 Inch Natural Coco Liners for Deck H…

PerkHomy Garden Twine Strong Natural Jute 800 Feet Long Green Twine for …

Sow Right Seeds – Passion Flower (Passiflora caerulea) Seeds for Plantin…
8. Miniature Hypertufa Planters for Fairy Gardens
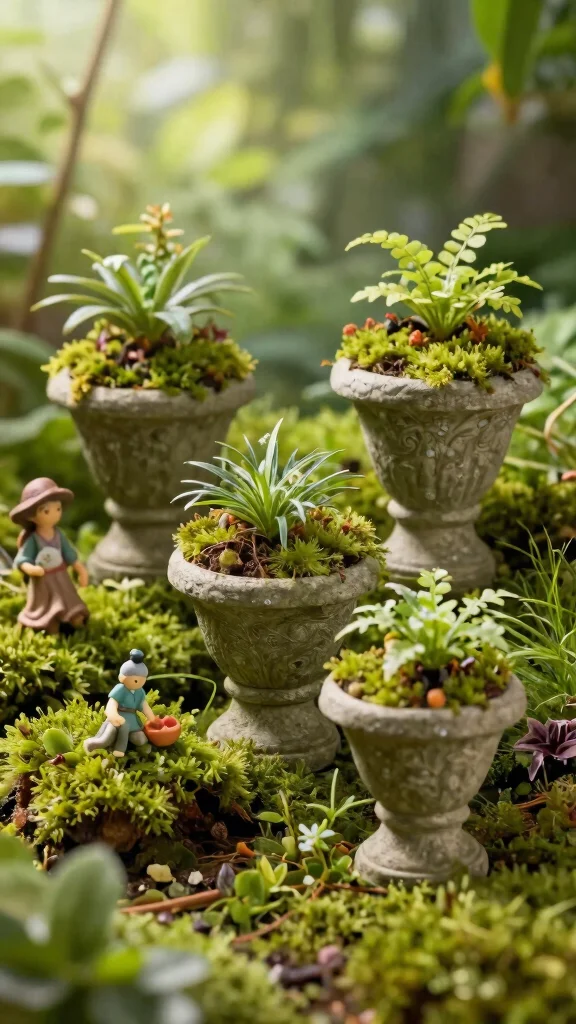
Miniature hypertufa planters are ideal for crafting whimsical fairy gardens that ignite joy and imagination. These tiny planters can house small plants or moss, adding charm to your outdoor haven. Their ancient appearance beautifully complements the fairy tale theme, making them delightful additions to your space.
Creating miniature planters is simple; utilize small molds or repurpose items like cups or bowls. The key is to ensure proportions suit tiny plants that fit within a fairy garden context.
Fairy Garden Tips:
– Include small figurines or stones for magical touches.
– Arrange planters in clusters for dynamic visuals.
– Layer plants for added interest.
By creating these tiny worlds, you’ll not only beautify your garden but also engage in a fun project that delights all ages.
You Might Also Like
Miniature Hypertufa Planters for Fairy Gardens
Editor’s Choice

Mood Lab Garden Gnome Figurines – Lady Gnomes Set (3 pcs) – 3.5″ H Minia…
Fairy Garden Stake Ground Plug-in, Four Leaf Clover Pattern Butterfly-Wi…

EORTA 3 PCS/Set Resin Tray Silicone Molds with Women Body Abstract Paint…
9. Hypertufa Pillars for Vertical Interest
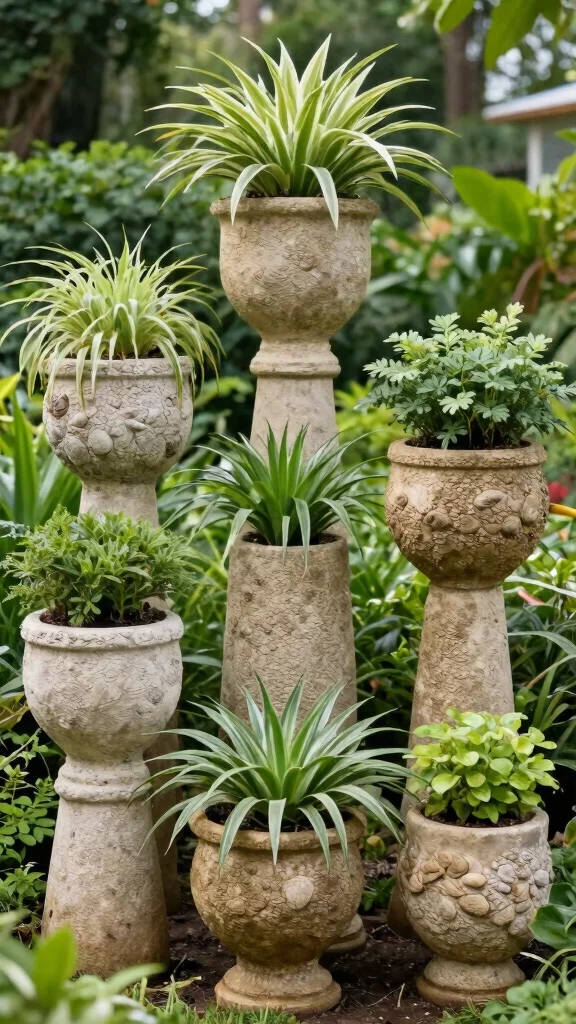
Hypertufa pillars can serve dual purposes as planters and striking decorative elements in your garden. These tall structures provide excellent vertical interest, drawing the eye upward and adding depth to your outdoor space. Their monumental feel can evoke a sense of ancient architecture.
To create pillars, shape the hypertufa mixture into cylindrical forms. Once dry, you can plant directly or place pots on top for a layered appearance. Strategically positioning these pillars can guide viewers through your garden.
Enhancement Suggestions:
– Use contrasting plants on the pillars for visual pops.
– Incorporate smaller hypertufa pieces at the base for cohesion.
– Vary heights for a dynamic arrangement.
Adding hypertufa pillars to your garden creates an impressive, ancient ambiance that enhances your outdoor experience.
How To Choose the Right Hypertufa Planter
Choosing the right hypertufa planters for your garden can seem challenging. However, with a few key points in mind, you can select the perfect ones that fit your style, budget, and gardening needs. Here’s how to make the best choice:
1. Size Matters
When selecting a hypertufa planter, consider the size of the plants you wish to grow. Larger plants require bigger containers, while smaller plants can thrive in petite pots. A good rule of thumb is to choose a planter that is about 1.5 times the size of the plant’s root ball. This allows ample room for growth.
2. Shape and Design
Hypertufa planters come in various shapes and designs. Think about the aesthetic you want to achieve in your garden. Do you prefer a rustic trough or an elegant bowl? Unique shapes can also add visual interest. Choose a design that complements the overall look of your garden, ensuring that it blends seamlessly with your other decor.
3. Drainage Features
Proper drainage is crucial for plant health. Look for hypertufa planters that have drainage holes or channels. If your chosen planter doesn’t have built-in drainage, you can easily create it yourself. Good drainage prevents water from pooling, which can lead to root rot and other plant issues.
4. Texture and Finish
The texture of your hypertufa planter can dramatically affect its appearance. Some planters have a rough, stone-like look, while others may be smoother. Consider how the texture will feel against the plants and how it will look in your garden. A more textured finish can create that ancient, rustic appeal many gardeners adore.
5. Budget-Friendly Options
One of the fantastic aspects of hypertufa planters is their affordability. You can create stunning planters at a fraction of the price of traditional garden pots. Determine how much you are willing to spend on materials. Basic supplies like peat moss, perlite, and cement are inexpensive, making this a great DIY project for any budget.
6. Personal Touches
Consider adding personal touches to your hypertufa planters. You can carve designs or paint them once they dry. Customizing your planters allows for a unique expression of your gardening style and can enhance the ancient look you’re aiming for.
Pro Tip: Before you start making hypertufa planters, gather inspiration from various sources, such as gardening blogs, social media, or local garden centers. This helps you visualize what you want and can guide your choices in size, shape, and design. Don’t hesitate to experiment with different styles—creating hypertufa planters can be a fun and rewarding experience!
Hypertufa Pillars for Vertical Interest
Editor’s Choice

USMOLA Fake Moss for Potted Plants Indoor, 7OZ Green Moss for Crafts – R…

Gisafai 2 Pack Silicone Concrete Planter Mold Large Concrete Planter Mol…
10. Customizable Hypertufa Planters with Personalized Touches
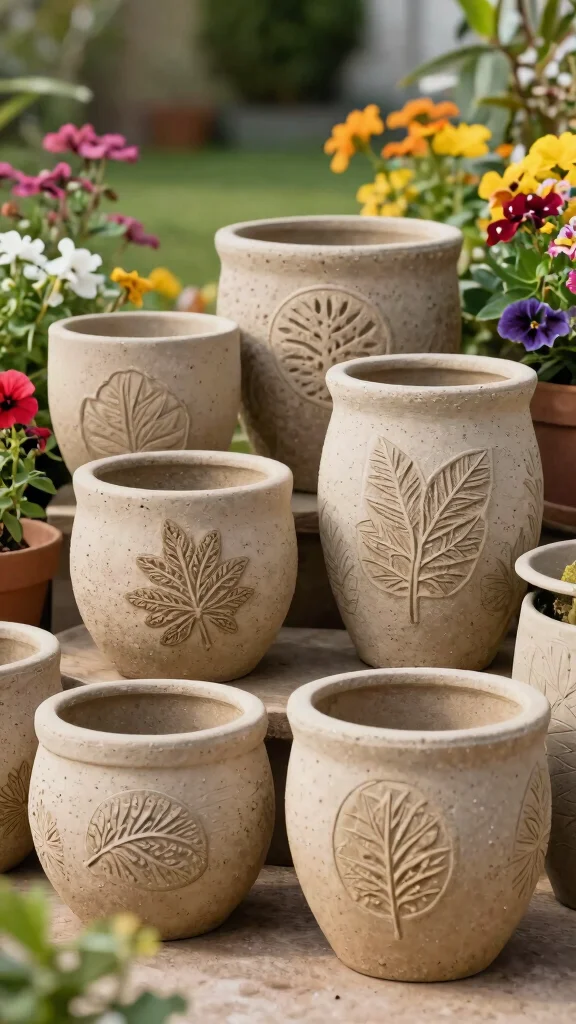
The beauty of crafting hypertufa planters lies in their customizable nature. You can add personal touches like imprints of leaves or textured patterns, giving each piece a unique story. This ancient technique allows you to create one-of-a-kind pieces that resonate with your gardening journey.
When making your hypertufa, consider using fresh leaves or textured materials to leave designs on the surface. This approach not only adds character but also evokes memories of gardens and places that hold significance.
Customization Tips:
– Experiment with seasonal leaves for diverse designs.
– Incorporate colored powders for added depth.
– Personalize with initials or meaningful symbols.
Customizable hypertufa planters enable you to express creativity while enhancing your garden’s ancient allure, making each piece truly special.
Customizable Hypertufa Planters with Personaliz…
Editor’s Choice

Hokkieam Clay Texture Rollers | 10-Pack Polymer Clay Texture Roller Set …
1 Pc Exquisite Mushroom Tree Stump Resin Silicone Mold Plant Flower Pot …
Conclusion
Creating hypertufa planters offers a unique and affordable way to enhance your garden’s aesthetic while allowing for creativity and personalization. These DIY projects not only save you money but also connect you with nature through hands-on crafting.
Whether you choose grand troughs, elegant bowls, or whimsical miniature planters, each hypertufa piece can tell your garden’s story and reflect your personality.
So, gather your materials, get your hands dirty, and start crafting your own ancient-looking hypertufa planters. Your garden will thank you for the touch of charm and beauty that these creations bring!
Note: We aim to provide accurate product links, but some may occasionally expire or become unavailable. If this happens, please search directly on Amazon for the product or a suitable alternative.
This post contains Amazon affiliate links, meaning we may earn a small commission if you purchase through our links, at no extra cost to you.
Frequently Asked Questions
What exactly are hypertufa planters and why are they ideal for an ancient-looking garden?
Hypertufa planters are lightweight, stone-like containers made from a cement-based mix that typically combines cement, sand, and a fibrous aggregate like peat moss or perlite. They’re perfect for ancient-looking garden decor because the textured, weathered surface resembles antique stone, while remaining easy to mold into irregular, rustic shapes. Best of all, they’re affordable and can be customized to fit any plaza, pathway, or patio with your own unique style.
Tip: start with a simple mold and a basic mix (1 part cement, 1 part sand, 1 part perlite or peat moss) and experiment with texture and color to get that timeless look.
How can I start a hypertufa planter project on a budget without sacrificing style?
Getting into DIY garden projects with hypertufa doesn’t have to break the bank. Use inexpensive molds like plastic containers, old bowls, or even repurposed buckets. For the mix, try a 1:1:1 ratio of cement, sand, and perlite or peat moss, and add water gradually until it’s chunky but workable. Optional budget-friendly touches: crushed tile fragments for texture, recycled pigments for color, or using coconut coir instead of peat moss. Allow the piece to cure slowly under plastic for a couple of days, then finish with a breathable sealant after full curing to boost durability. This approach keeps it affordable planter ideas and sticks to DIY garden projects basics.
Are hypertufa planters durable outdoors, and how should I care for them in different seasons?
Yes, hypertufa planters can be outdoors and look great for years, but they’re porous and can crack if exposed to harsh freeze–thaw cycles. For best performance, cure fully before planting, use a breathable sealant to reduce water absorption, and ensure good drainage with a plastic liner inside. In winter, move them to a sheltered spot if possible, or wrap lightly for protection. Clean with a soft brush and water, then reapply sealant every few years to keep them looking fresh. Think of them as unique garden containers that reward regular care.
How can I achieve an ancient-looking finish on hypertufa planters without hiring a pro?
Create a time-worn look with texture and color you can control at home. While the mix cures, press in rough textures or add small aggregates to mimic stone. After curing, apply a dry-brush technique with dark acrylics to bring out cracks and crevices, then glaze with a light patina for mossy greens or earthy browns. A final mist of water and a touch of green or gray paint can simulate aged moss in nooks and crannies. This is a fun way to bring ancient-looking garden decor to life using hypertufa planter tutorials you can follow step-by-step.
What common mistakes should beginners avoid when making hypertufa planters, and how can I fix them?
Common missteps include using too much water (which weakens the mix), skipping proper curing, and failing to plan drainage or liners. To avoid this, mix gradually, test a small batch first, and ensure your planter has drainage holes or a liner to protect soil. Don’t rush cure time—keep the piece wrapped for a couple of days and allow full curing for several weeks. If you notice cracking, a quick patch with fresh hypertufa paste can seal small gaps. With attention to these basics, you’ll be creating hypertufa planters that look stunning and last for seasons to come.
Related Topics
hypertufa planters
DIY garden projects
ancient-style decor
affordable planters
rustic garden
unique garden containers
beginner friendly
easy crafts
garden aesthetics
hypertufa tutorials
budget gardening
outdoor decor